Why showing the starting product image beside the result creates a more useful, more credible product story.
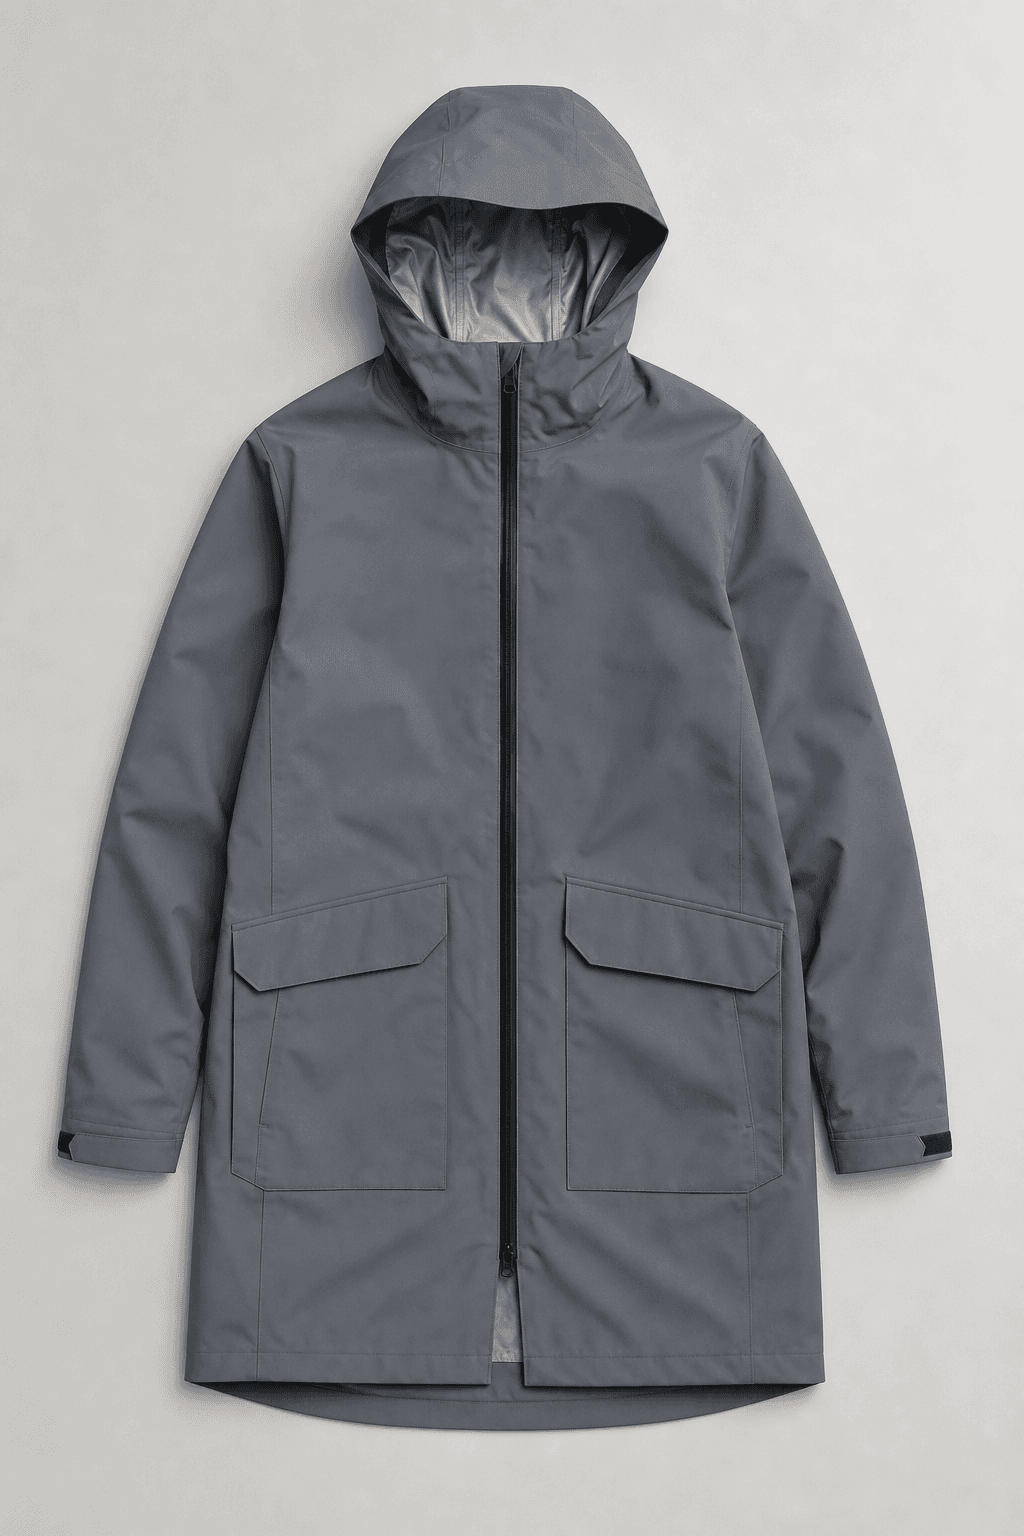 Gallery input
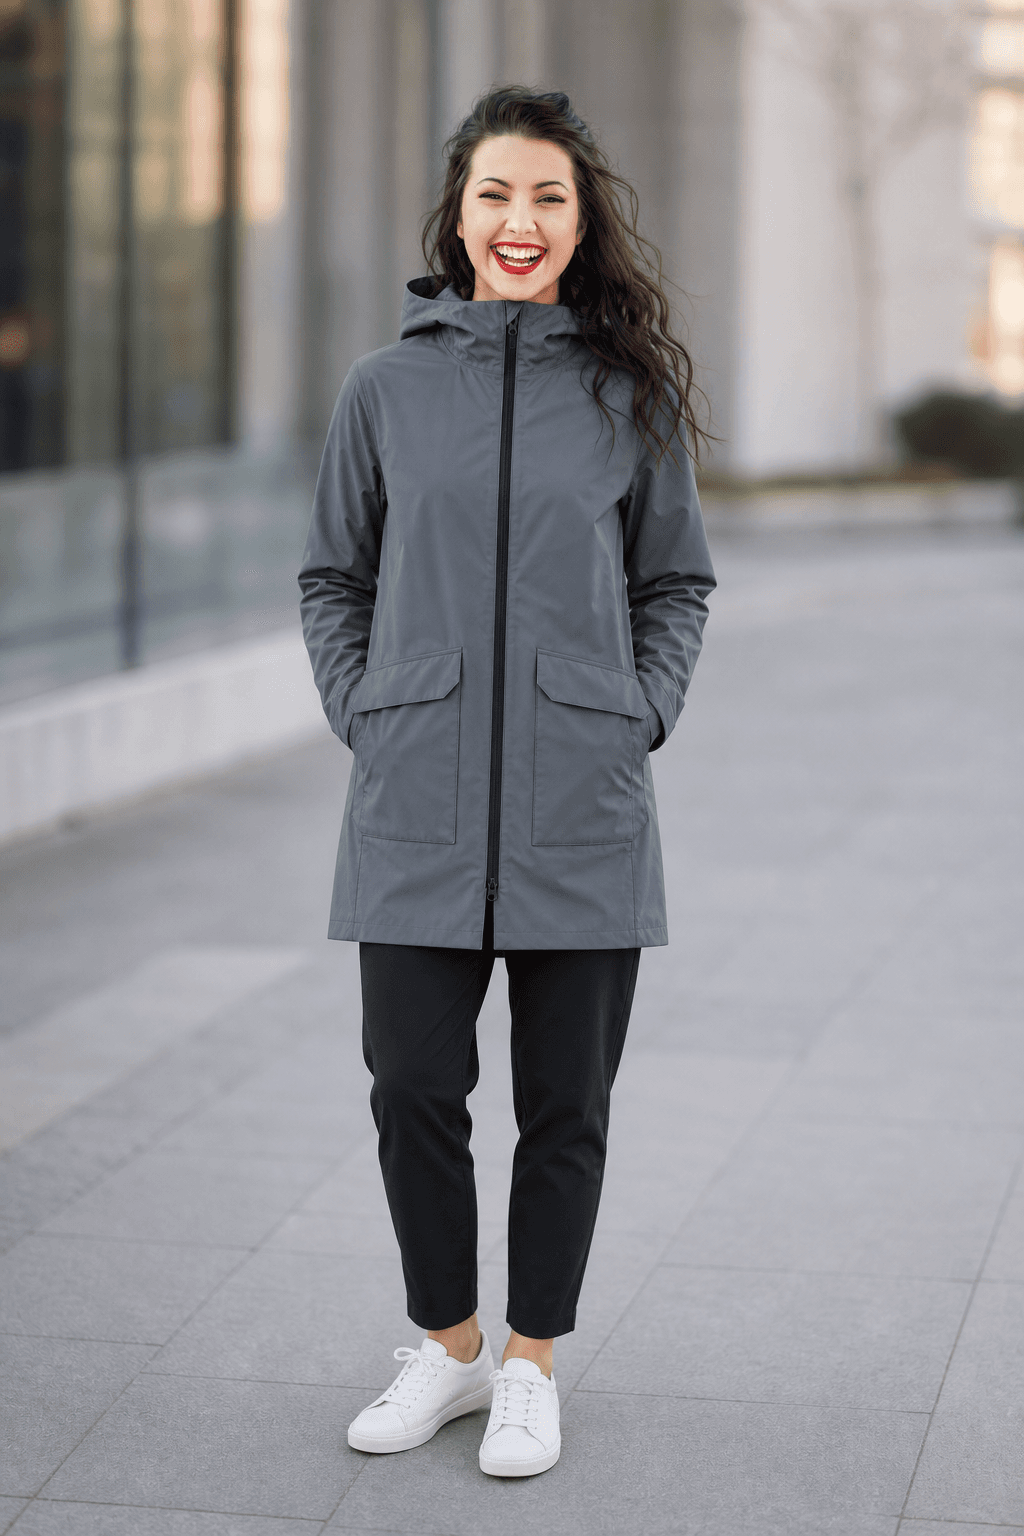 Modelify result
Show the starting point
A before-and-after pair communicates more than a polished final image alone. It shows what kind of product input began the process and gives viewers a grounded way to understand the transformation. That context is especially helpful for teams deciding whether their current product photography is ready for a new workflow.
Keep the comparison honest and focused
The comparison should make product continuity easy to see. Use the same garment, label both sides plainly, and avoid unrelated visual effects that make the result look like a different item. A clear pair invites a useful question: does this presentation make the product easier for a shopper to understand?
Turn examples into working references
Examples become more valuable when they can be used as references for future work. Organise them by garment type and scene direction, then note why a pair was approved. A growing reference library makes it easier to set expectations, brief collaborators, and create a coherent visual story as the catalogue expands.